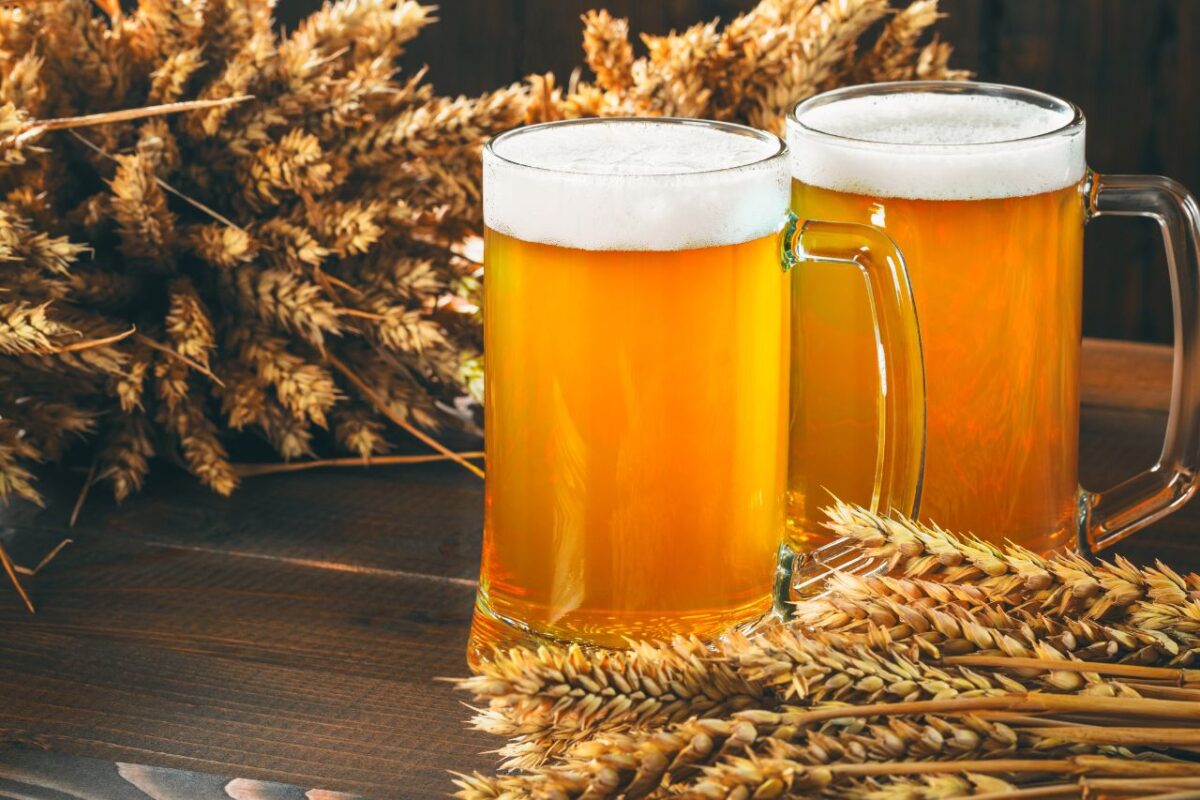
Homebrewing
Brewing Made Easy.. A Simple 4 Basic Steps
If an image of complexity and loads of work is what’s keeping you away from homebrewing, then you sure are missing out on good fun!
Even a beginner can get the feel and taste of brewing beer on their own in just 4 simple steps.
Let’s guide you through them and you can thank us later.
The simplest way to brew is to pick a Beer Starter Kit. From ingredients to equipment, starter kits available in the market come in many combinations.
You can simply choose a complete starter kit if this is your first one and there onwards pick only ingredients according to your recipe. Or start with a basic kit and keep adding things as you go ahead. It’s all your choice.
So let’s quickly see what these steps are.
The Four Basic Steps
1. PREPARE :
Check and make sure you have everything ready. Here is a small checklist to help you do that!
- Boiling vessel – about 5 gallons. This is also called a kettle or boiling pot
- Fermenter including an airlock
- Auto siphon for bottling the brew
- Brew spoon
- Sanitizer
- Ingredients separately or as a kit according to the recipe
2. The Brewing :
1. Grain Steeping: Fill about half the boiling pot with water. Start heating the water and put in the grain bag. Leave the grains to steep for 20 minutes or till the water heats up to 170 degree Celsius.
Gently lift the bag and let the water drain out naturally into the kettle. Don’t squeeze as it will introduce tannins into the liquid.
2. Rolling boil the solution – Continue to heat the boiling pot till it comes to a rolling boil. Now remove from the burner and add malt extracts and mix well. Once the malts dissolve, place the kettle back on the burner.
Check the recipe to know when to add the hops. Keep the wort boiling as long as the recipe recommends.
- Cooling the wort – Use an ice bath or a wort chiller to bring down the temperature quickly.
- For an ice bath – Fill the sink with ice cubes and place the kettle so that it has ice on the bottom and all the sides.
3. Wort Chiller – Immerse the chiller in the wort. Connect the inlet to a cold water supply tap through a hose. Also attach another hose at the outlet and leave the other end in a sink. Open the tap to allow the water to flow through the chiller coil till the wort cools down.
3. FERMENT :
Clean and sanitize everything that comes in contact with the brew from this point onwards. Any contamination can spoil the entire batch.
- Pour the cooled wort into the fermenter.
- Top off with water to bring the level to 5 gallons.
- Stir vigorously or splash the wort in the fermenter. This mixes the oxygen well into it.
- Next add the yeast from the pack after sanitizing the pack and the scissors. Dry yeast is the easiest to use.
- Seal the fermenter with a stopper and airlock. Keep the fermenter in a cool dark place and don’t move it till the fermentation is complete. Maintain the temperature from the recipe.
Fermentation usually takes about two weeks to complete.
4. Bottle The Brew :
- Clean and sanitize bottles, caps, auto-siphon, buckets and other equipment you are going to use.
- Prepare the priming sugar solution in 500ml of water. Add this to the bucket directly after it cools down.
- Transfer the beer from the fermenter into the bucket with the help of the auto-siphon. Leave the sediment undisturbed in the fermenter itself.
- Use a bottle filler to fill the bottles easily. Connect one end of the transfer tube to the bottle filler and the other end to the bottling bucket’s tap. Open the tap and press down the filler tip against the bottom of the bottle.
Once the bottle is filled to the top, remove the filler. Move to the next bottle and repeat the steps.
- Seal the bottles with caps using a bottle capper.
- Keep the bottles away in a dark place for another two weeks. This will release carbon dioxide into the beer.
That’s it! You are done. Refrigerate for a while and enjoy a fresh bottle of beer you brewed yourself.

